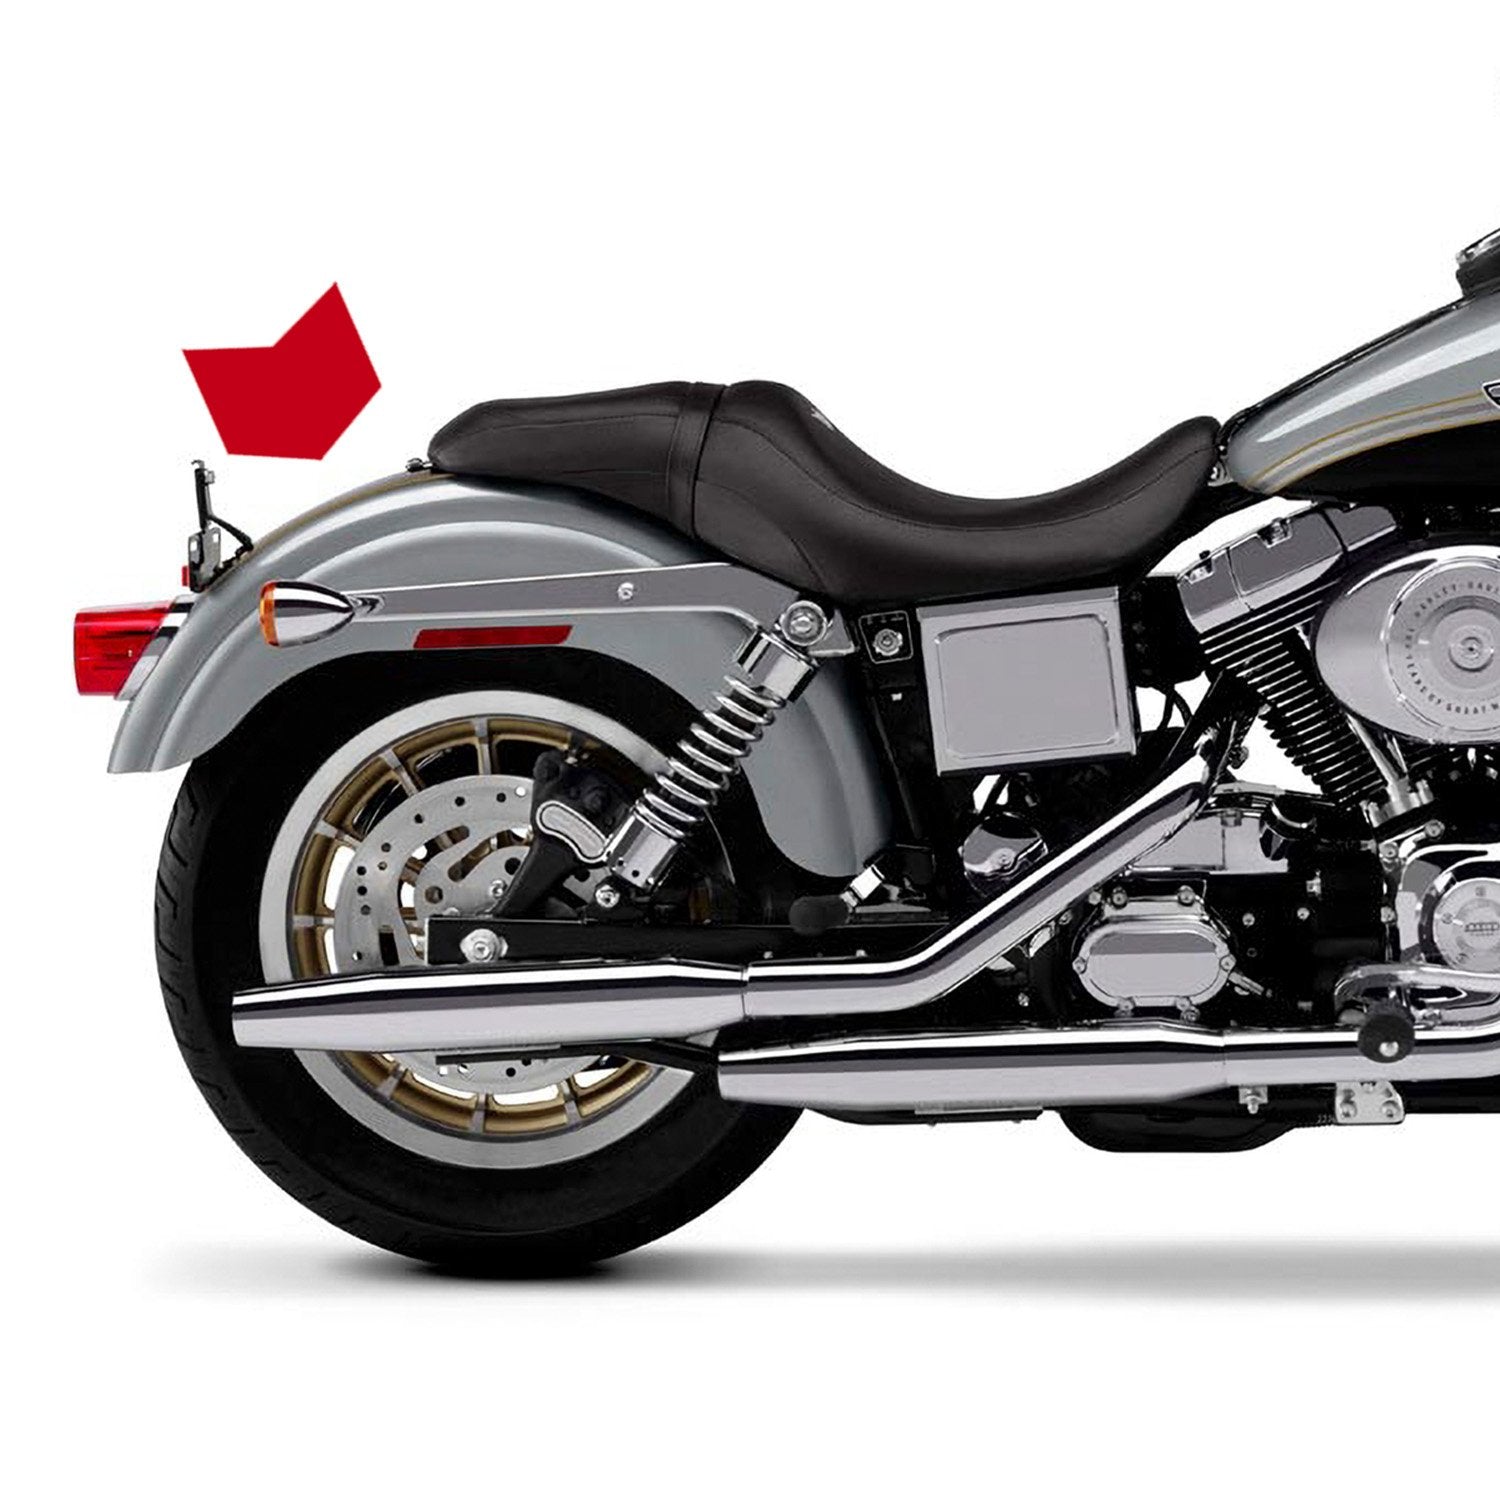
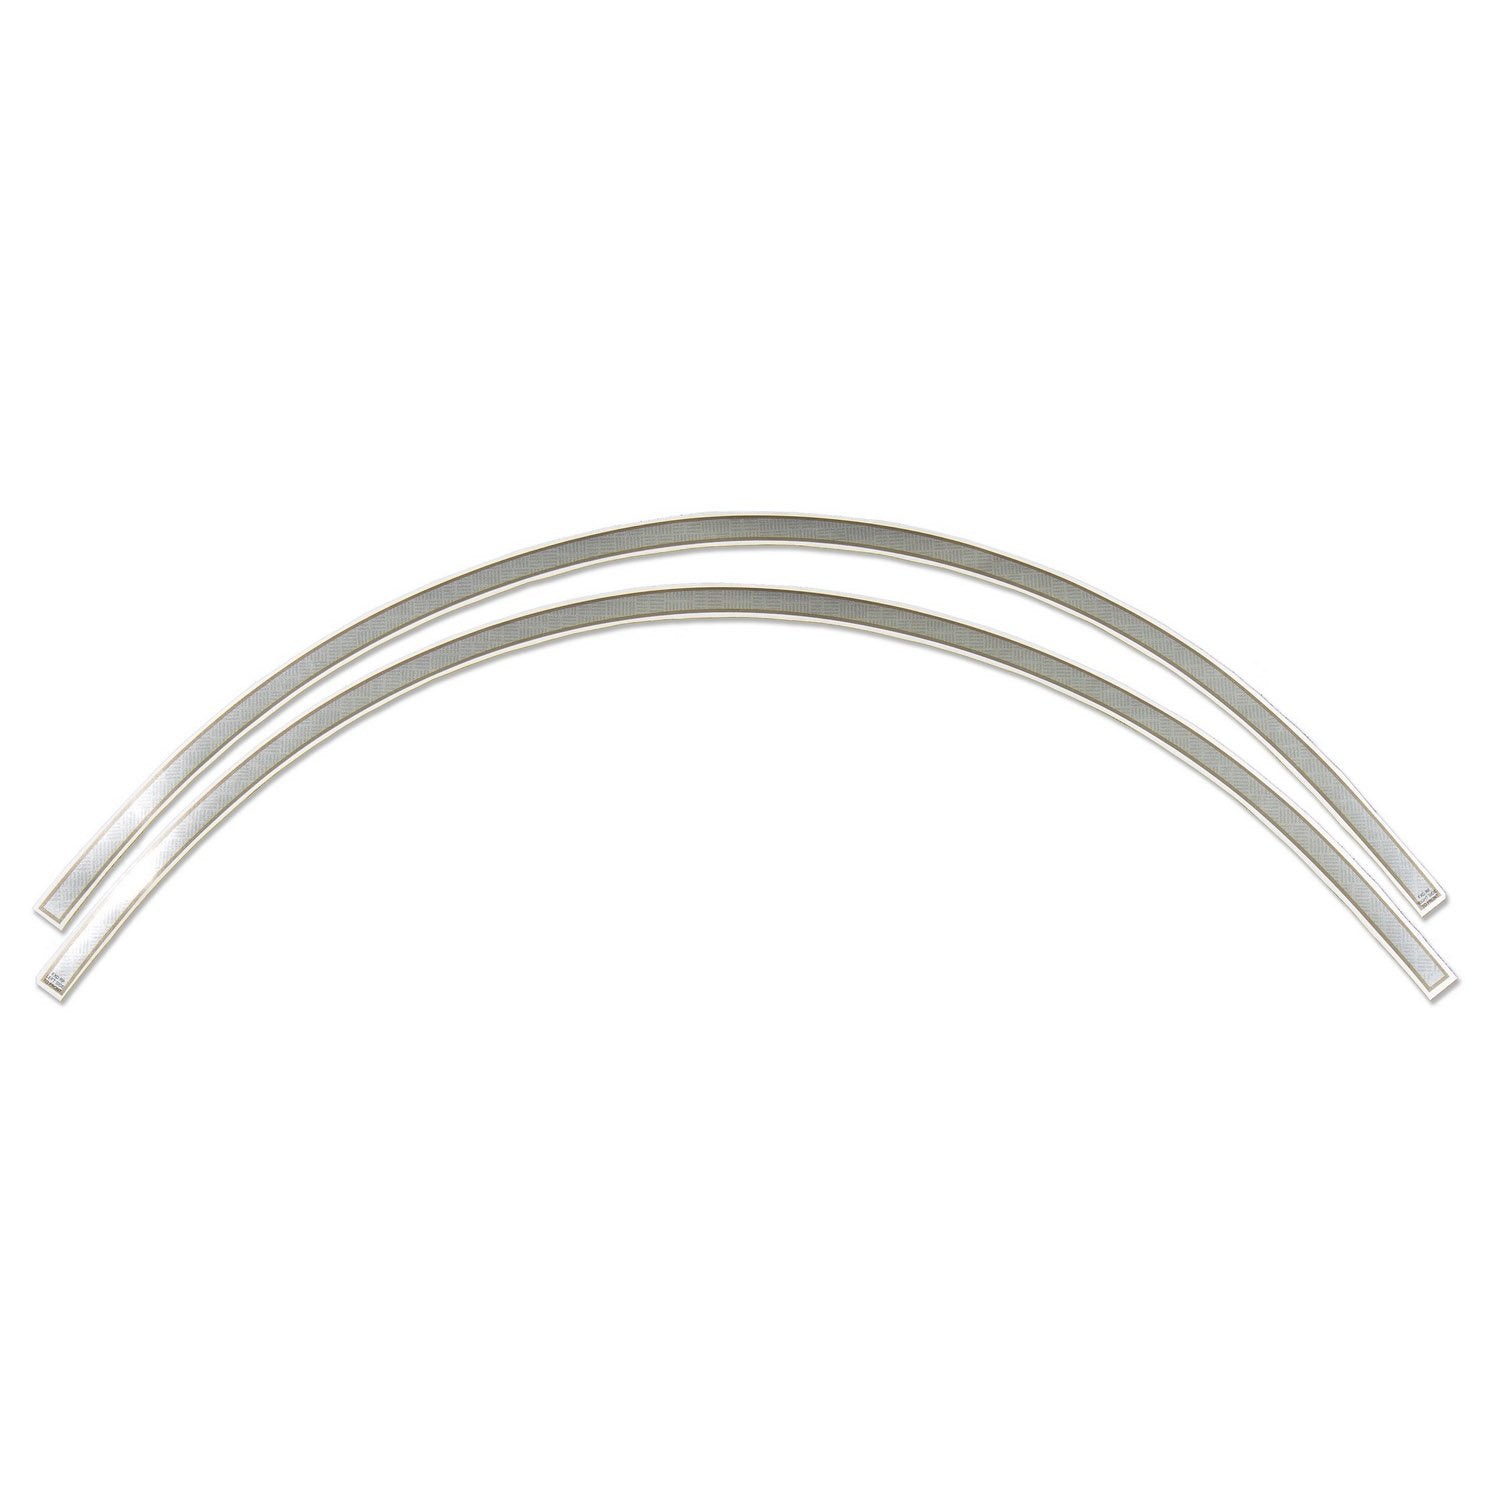
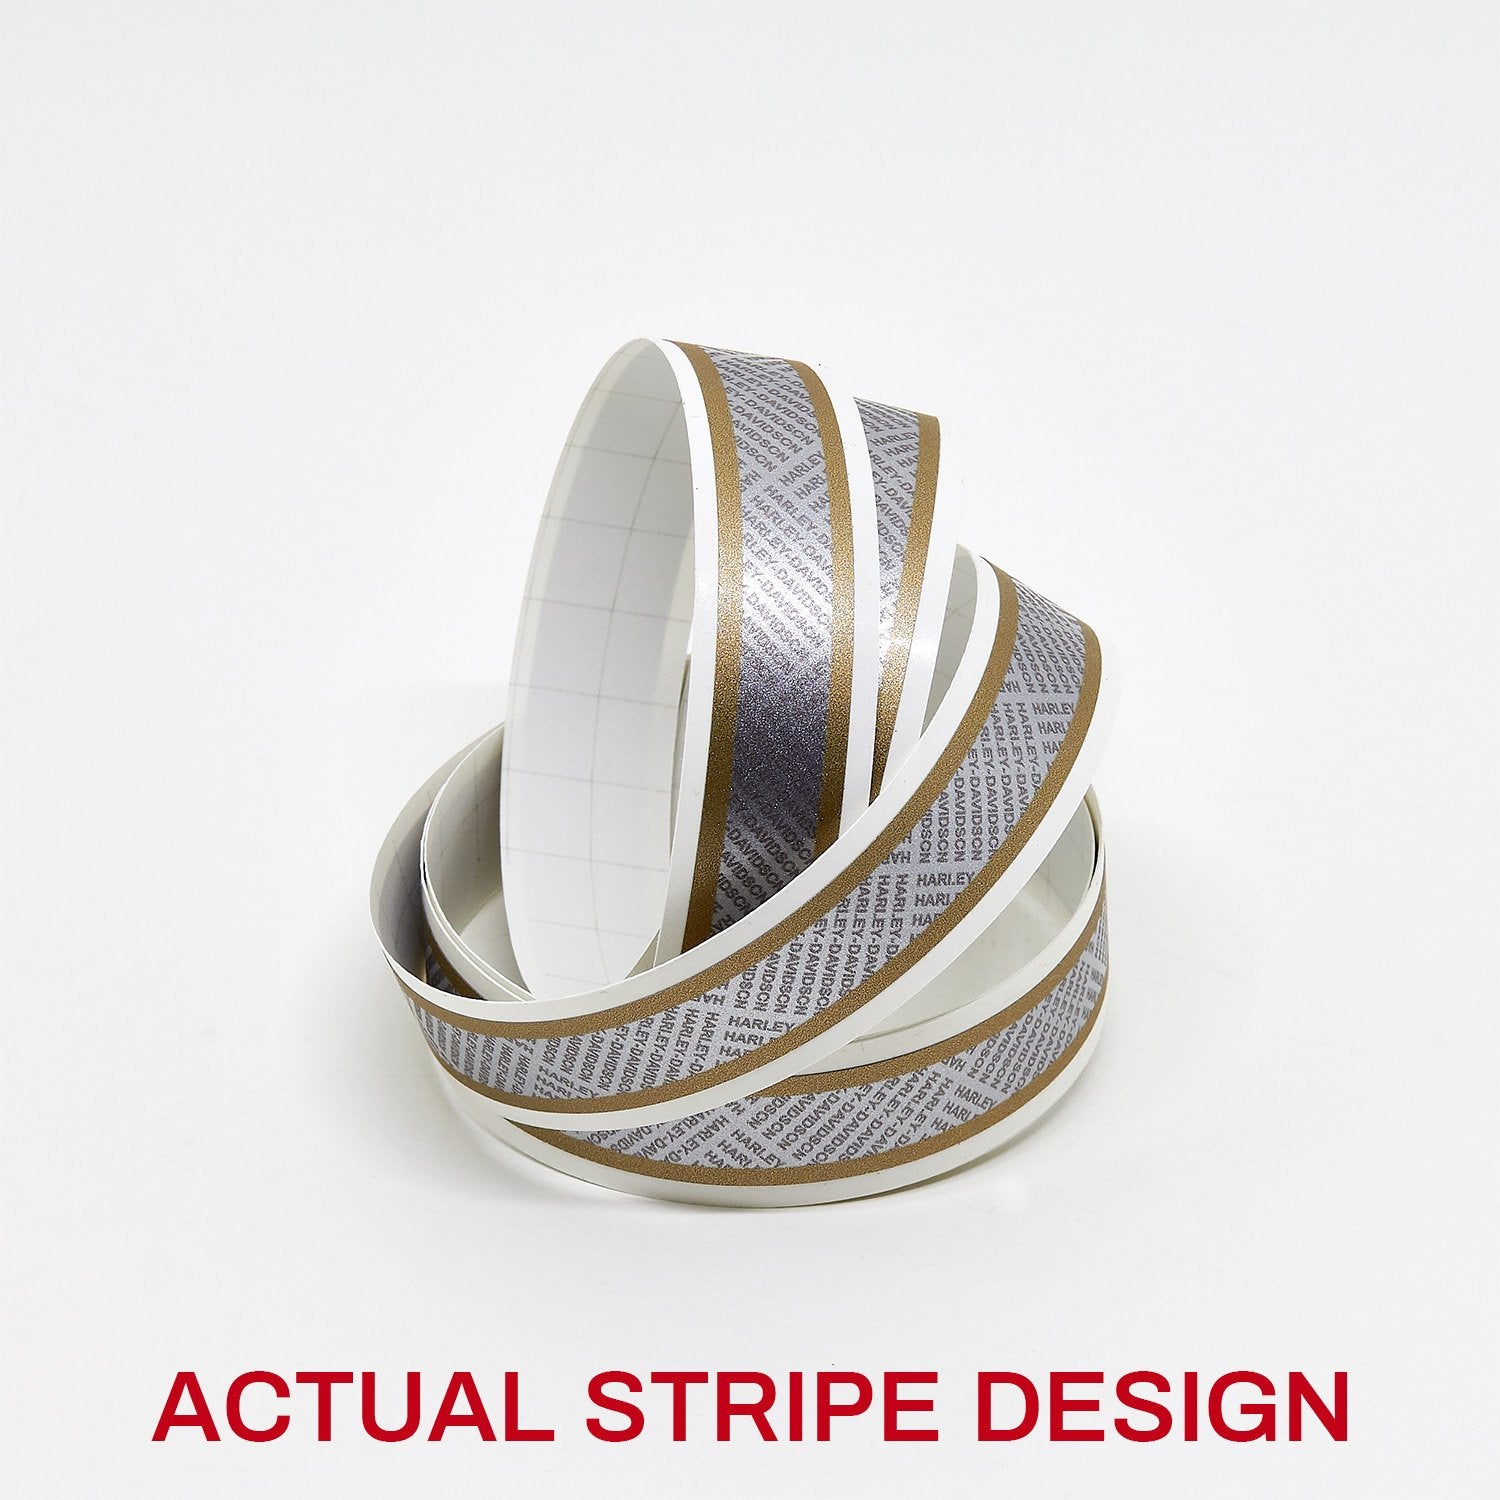
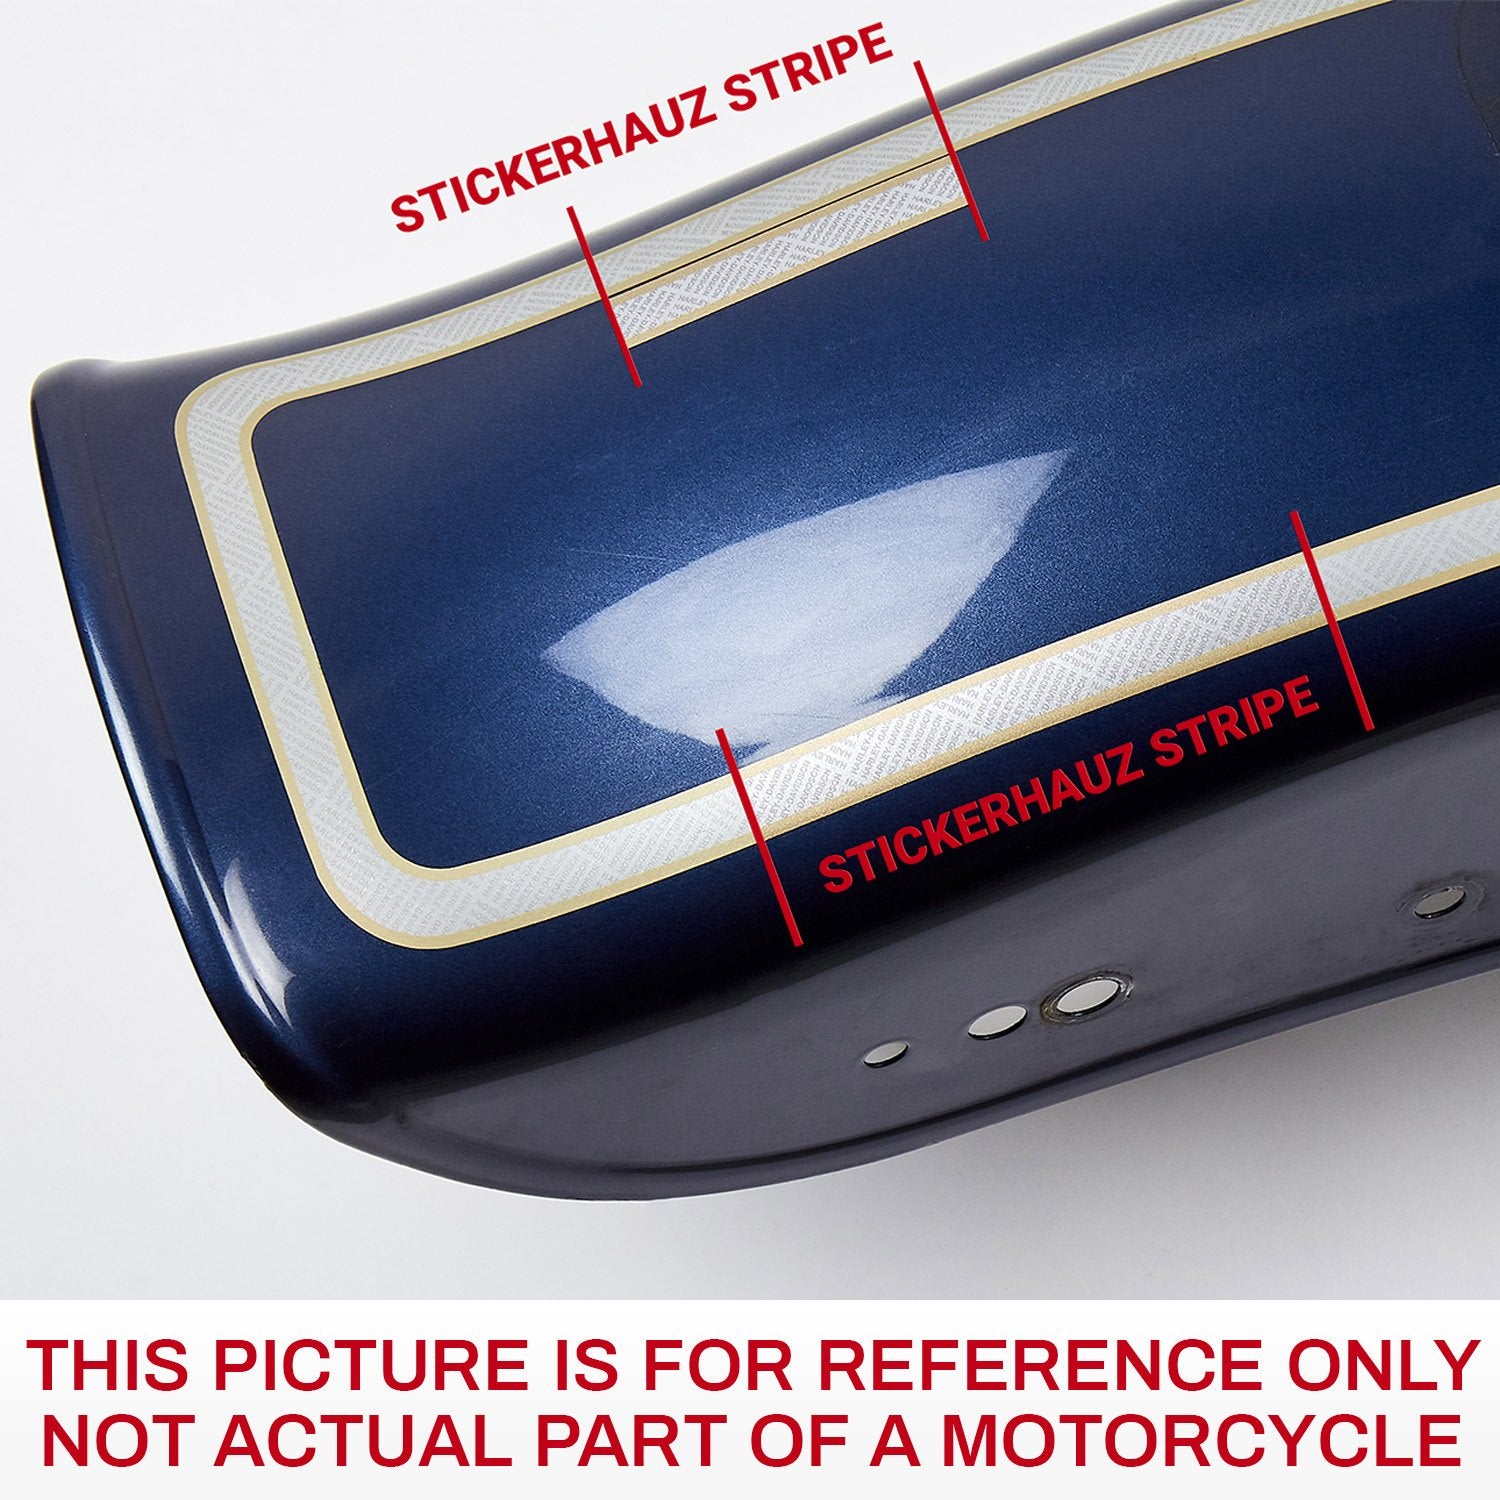
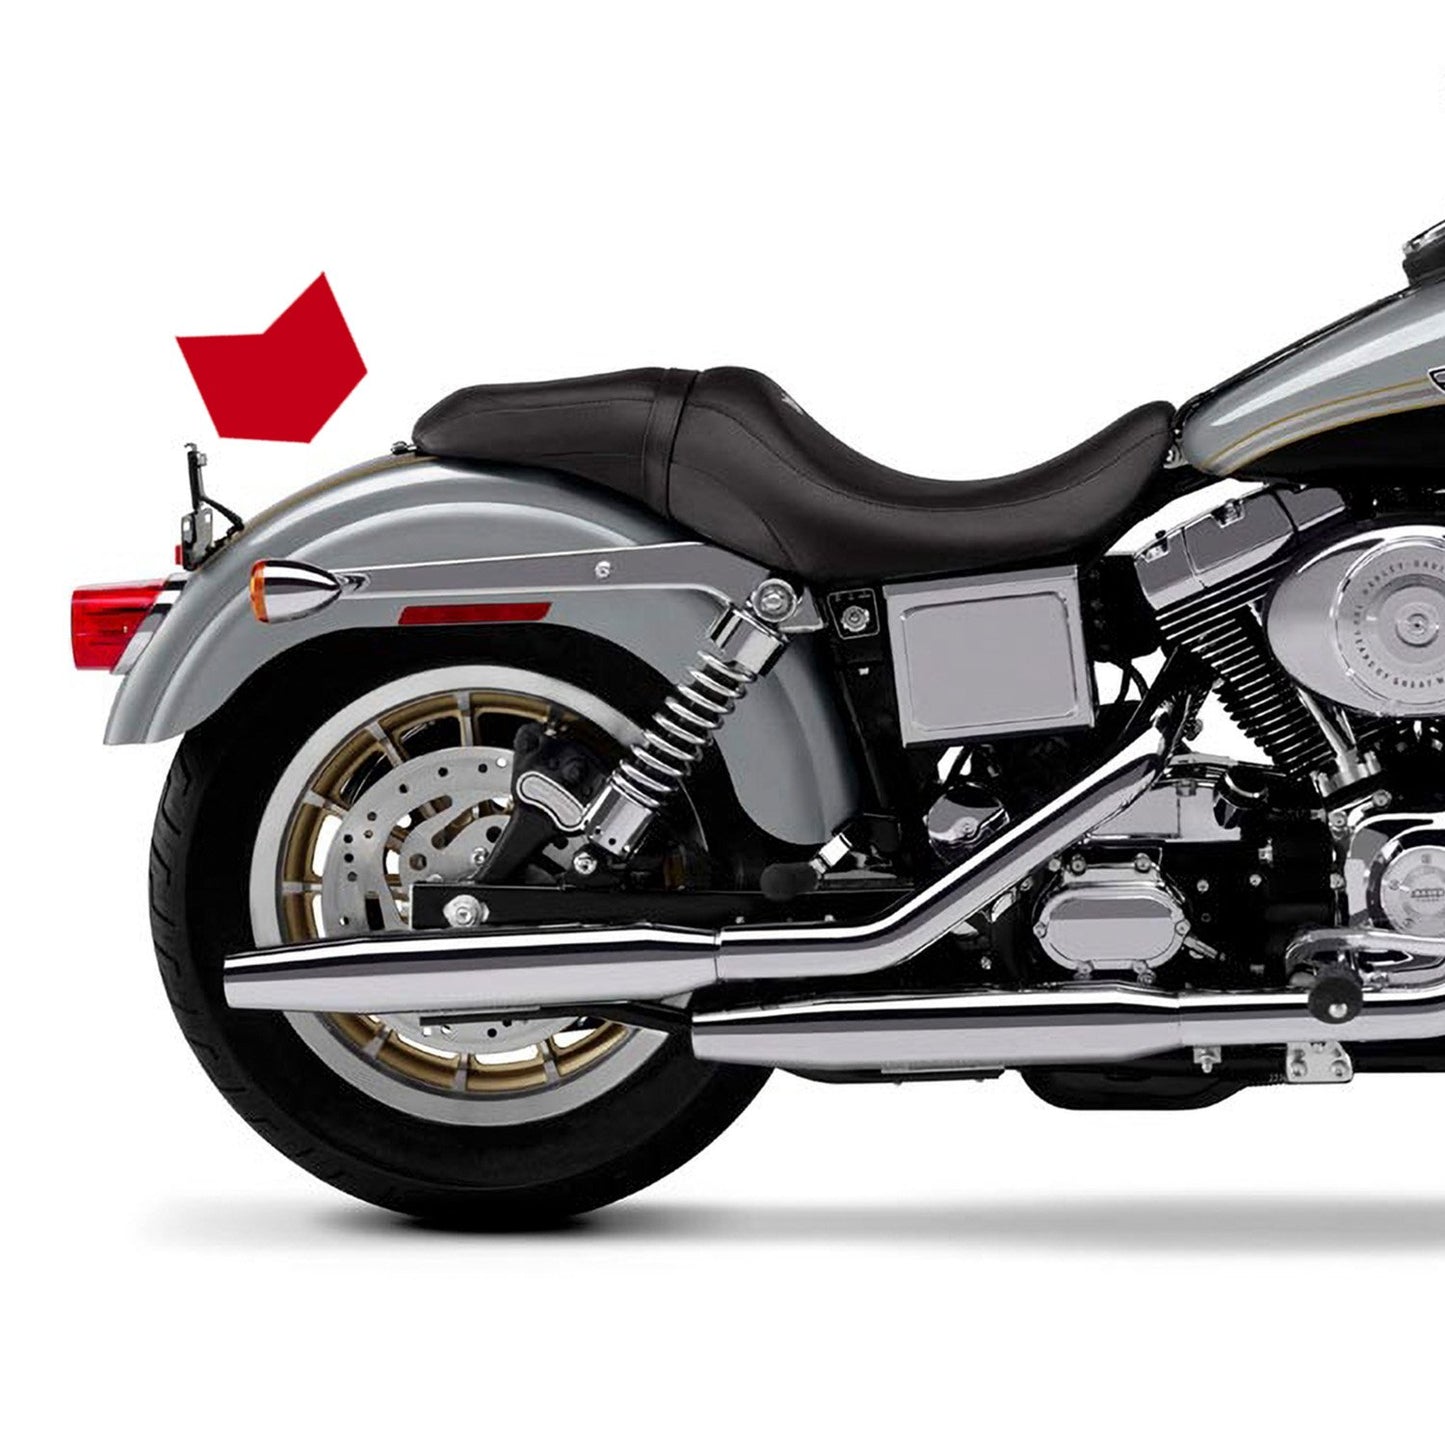
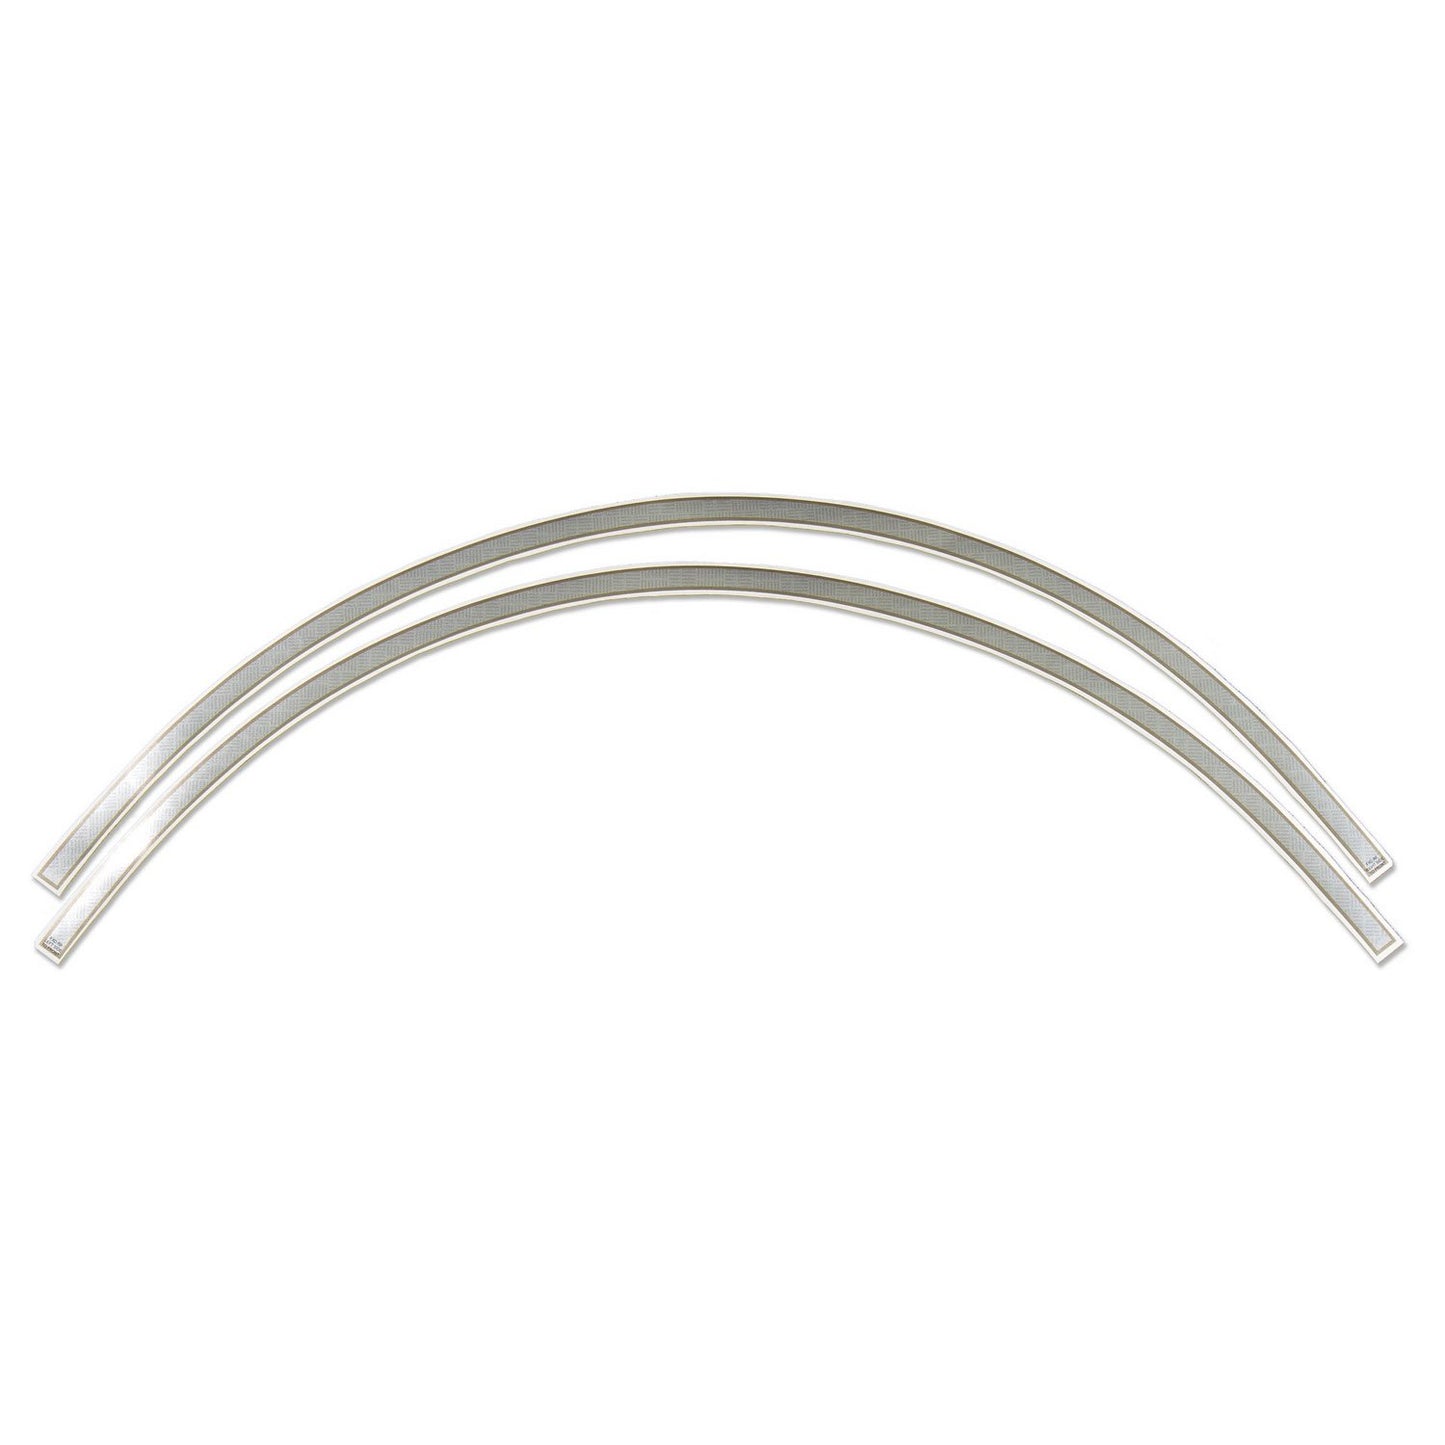
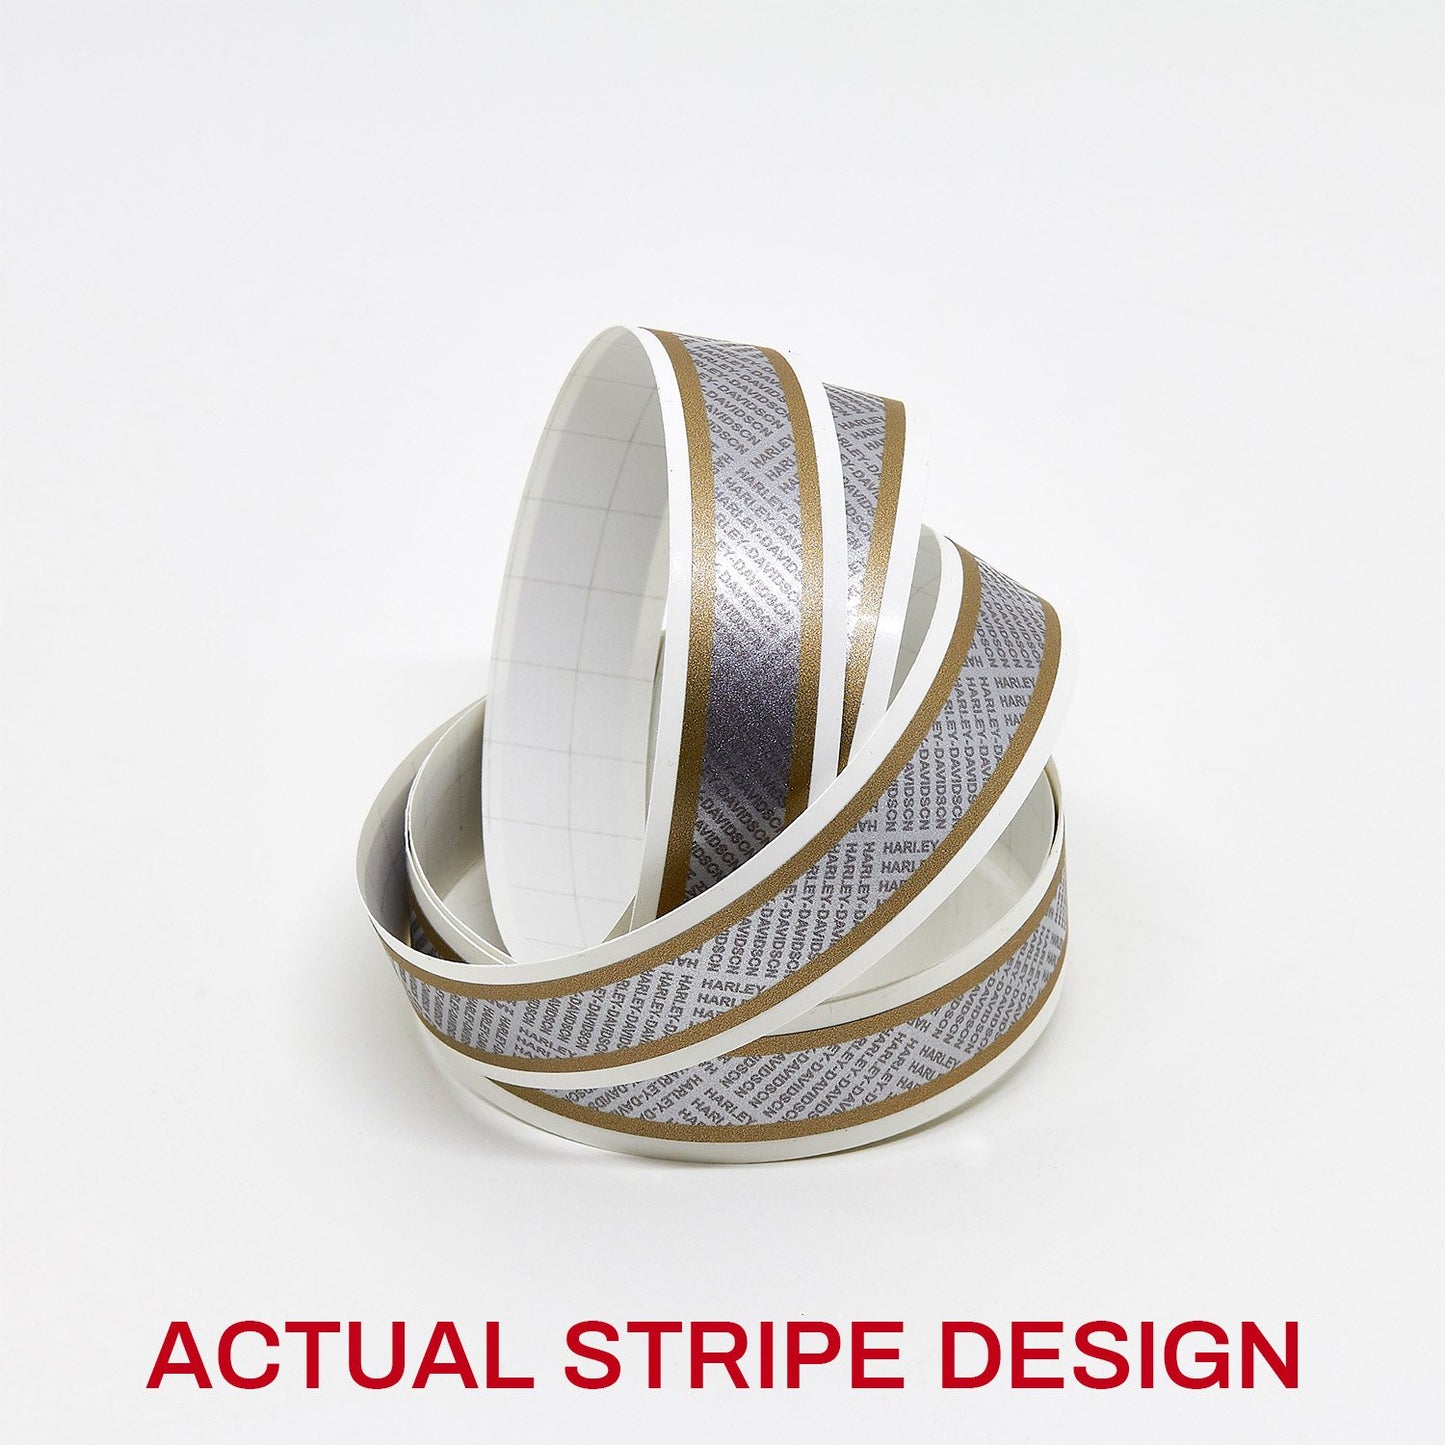
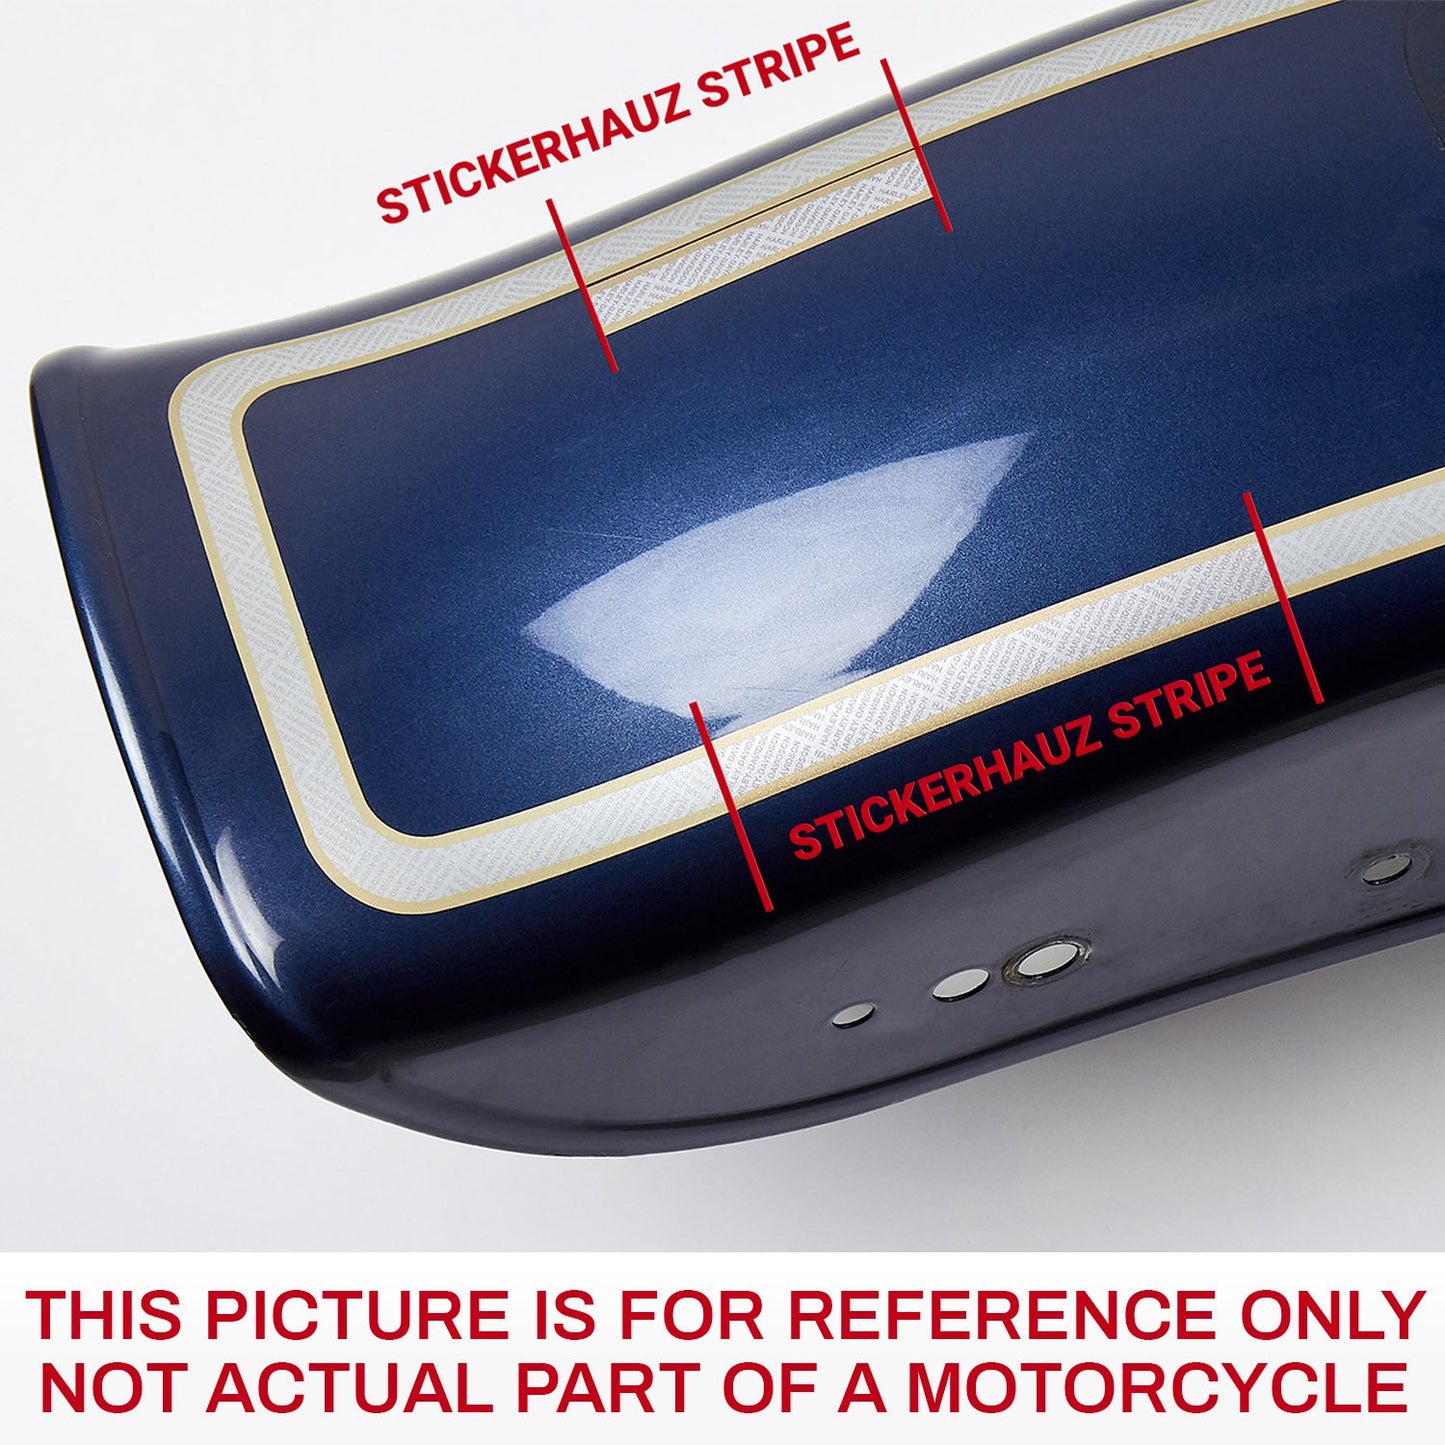
The following are general instructions for applying STICKERHAUZ stickers and decals to motorcycles, their parts, and other vehicles. This instruction covers the application of printed vinyl decals and die-cut stickers as well.
Storage
STICKERHAUZ decals must always be stored in cool, dry places away from the sun. Before being applied, the films should be adapted to required moisture and temperature conditions: an indoor climate of 40% to 50% relative humidity and a temperature of +18° to +22°C (+65°F to +72°F) is ideal. If the above-mentioned conditions are radically altered, dimensional changes of the protective paper may result. A consequence would be inadequate flatness of the self-adhesive material and dimensional deviations of the pieces. All stickers that come rolled in the box should be laid on a flat surface at least for 24 hours before being applied.
Procedure
The application process should be done in dust, wind, and no direct sun-controlled area or room. The environmental temperature should be +18°C (65°F) or above to achieve the required bond strength. Any dust particles, trapped under stickers, will form visible, small air bubbles, which will be even more visible after covering stickers with a clear coat of lacquer.
Thoroughly clean the surfaces of the vehicle before applying the STICKERHAUZ vinyl decals. The vehicle should generally be cleaned with conventional cleaning agents. The surfaces to be bonded must always be additionally cleaned with IPA isopropyl alcohol (isopropanol). This will remove most efficiently all residues of previously used cleaning agents, wax and debris from painted areas. Thoroughly dry the surfaces, use a hot air blower to remove any residual moisture.
Note:
Solvent residues owing to improper cleaning or a recent paint job may result in gas bubbles forming between the film and the base. Make sure that stickers are only bonded to completely dry and hardened coating finishes. As a rule of thumb, allow a minimum drying period of three weeks.
Film application procedure
In general, STICKERHAUZ vinyl decals shall be processed like common polymeric car-wrapping PVC films. If you are not sure about your experience to correctly apply decals, please refer to your local window tint shop for installation assistance.
We recommend a dry bonding procedure as follows:
The application should be done at the ambient temperature mentioned above. A significant alteration in temperature should be avoided during the first 24 hours after adhesion. Should a temperature drop nonetheless occur, we recommend treating the decals with hot air from a hot-air gun.
Lay the decals with the film side down on a flat surface. Pull back only as much silicone paper as required to begin mounting. Always draw the silicone paper from the film, never the other way round.
Position the piece of film to be bonded on the vehicle and secure it with adhesive tape or film scraps.
Make sure that the film projects over the edges of the vehicle part to be bonded.
Remove the backing paper and evenly stretch the film over the vehicle part.
Press the film onto the vehicle with a squeegee in even, overlapping wiping movements.
Depending on the size of the cut to be mounted, the silicone paper may be removed completely before bonding or gradually during the adhering procedure.
When using application paper or film (some of our decals come with application film or paper already applied), pull these slowly away from the film at a 180° angle.
Different background profiles are used in vehicle construction. When applying films to such backgrounds always follow the profile. Never just lay out the film and press it under tension into the recess.
After completion of the work
We HIGHLY RECOMMEND covering our stickers with a clear coat of lacquer. Some bulk vinyl film pieces are included in the package for test purposes. Always provide a test of bonding and covering a piece of film with your preferred clear coat to make sure no harmful chemical reaction occurs.
The motorcycle or the part of it with freshly applied STICKERHAUZ decals should be kept at the bonding temperature for at least another 24 hours. After about 3 days the film has reached its optimum ultimate bond strength so that the vehicle or the part of it may be covered with a clear coat of lacquer.
These Processing Instructions are based on our knowledge and experience. They do not comprise explanations of every aspect to be considered during film bonding. Specific knowledge and skills of window tint technicians or bonding specialists may be brought. A guarantee of specific properties cannot be derived from this information.

